
Anatomy of a Bathroom Facelift
Creating a new look in the bathroom does not have to cost an arm and a leg. It can be done inexpensively, with a few well thought out changes. First of all, think of a concept or theme. What is this room going to say about you? What do you want it to do for you, functionally and aesthetically? Is there a particular feel you are trying to accomplish?
Secondly, you have to think about what colors and color scheme will go with your concept. Try to not have more than 2-3 colors in order to be most effective. The more colors you try to integrate into your design, the more potential for something to go astray.
Thirdly, what is your budget, and what can you honestly afford to change in your bathroom? If your budget is very limited, you can at least minimally change the following:
1) Wall color
2) Flooring
3) One major accent piece in the room, and/or accessories
You can still make a strong impact changing just these few things, and once again, it will not cost too much.
If your budget for both time and financial resources is more generous, then there's a few more things you can add to the list:
4) Resurfacing/painting/ or staining the cabinetry
5) Changing/resurfacing countertops
6) Changing cabinet hardware
Great impact can be achieved with these few changes, but if you are still looking for something more significant in terms of the functionality of your space, then you can add a few more things to the list such as:
7) Changing the lighting (can make a huge impact on the room)
8) Changing the cabinetry
9) Changing the plumbing fixtures.
Take a look a few of the changes I made in my own bathroom to create a completely different space:
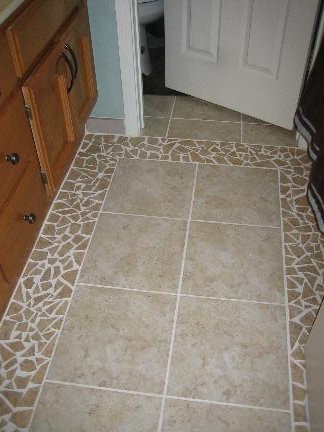
First of all, let's talk flooring. Here's an example of how to make lemonade when life gives you lemons. After coming home and noticing that one of the boxes of tile I had gotten was a slightly different color than the rest, I figured, well, let's make this work. So here the slightly darker tile was used as a broken tile border. In other words, it was made to look as if it was planned that way.
In this photo you can also see some of the cabinetry. I could not afford to change it, and didn't want to put the time into refinishing it (at least at this time), so I just changed the hardware. It looks like new cabinetry. It's amazing what a little elbow grease and new jewelry can do!
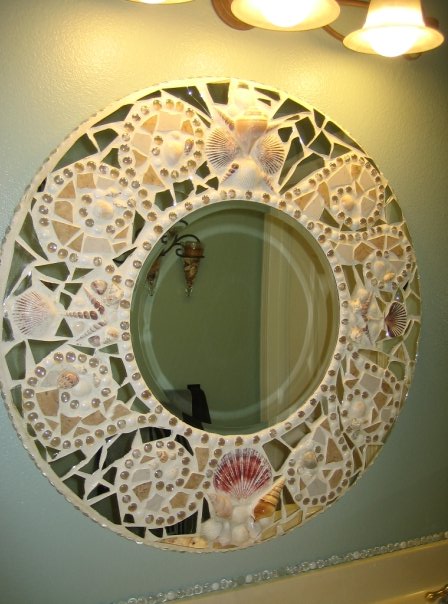
I spoke about changing one big accent piece in the room. In this case it was the mirror. I got rid of the dated wall to wall mirror and instead bought a round piece of wood, a mirror to fit inside of it, and tiled the border with leftover pieces of broken tile from the floor, pieces of broken mirror, glass beads and shells. This becomes a significant piece for the room not only because of the size, functionality and aesthetics it brings to the room, but also because it is a piece that brings forth and emphasizes the concept for the room. Can you guess what it is? I call it "Ocean Tranquility". You can also see the color of the walls, a nice shade of blue with gray undertones.
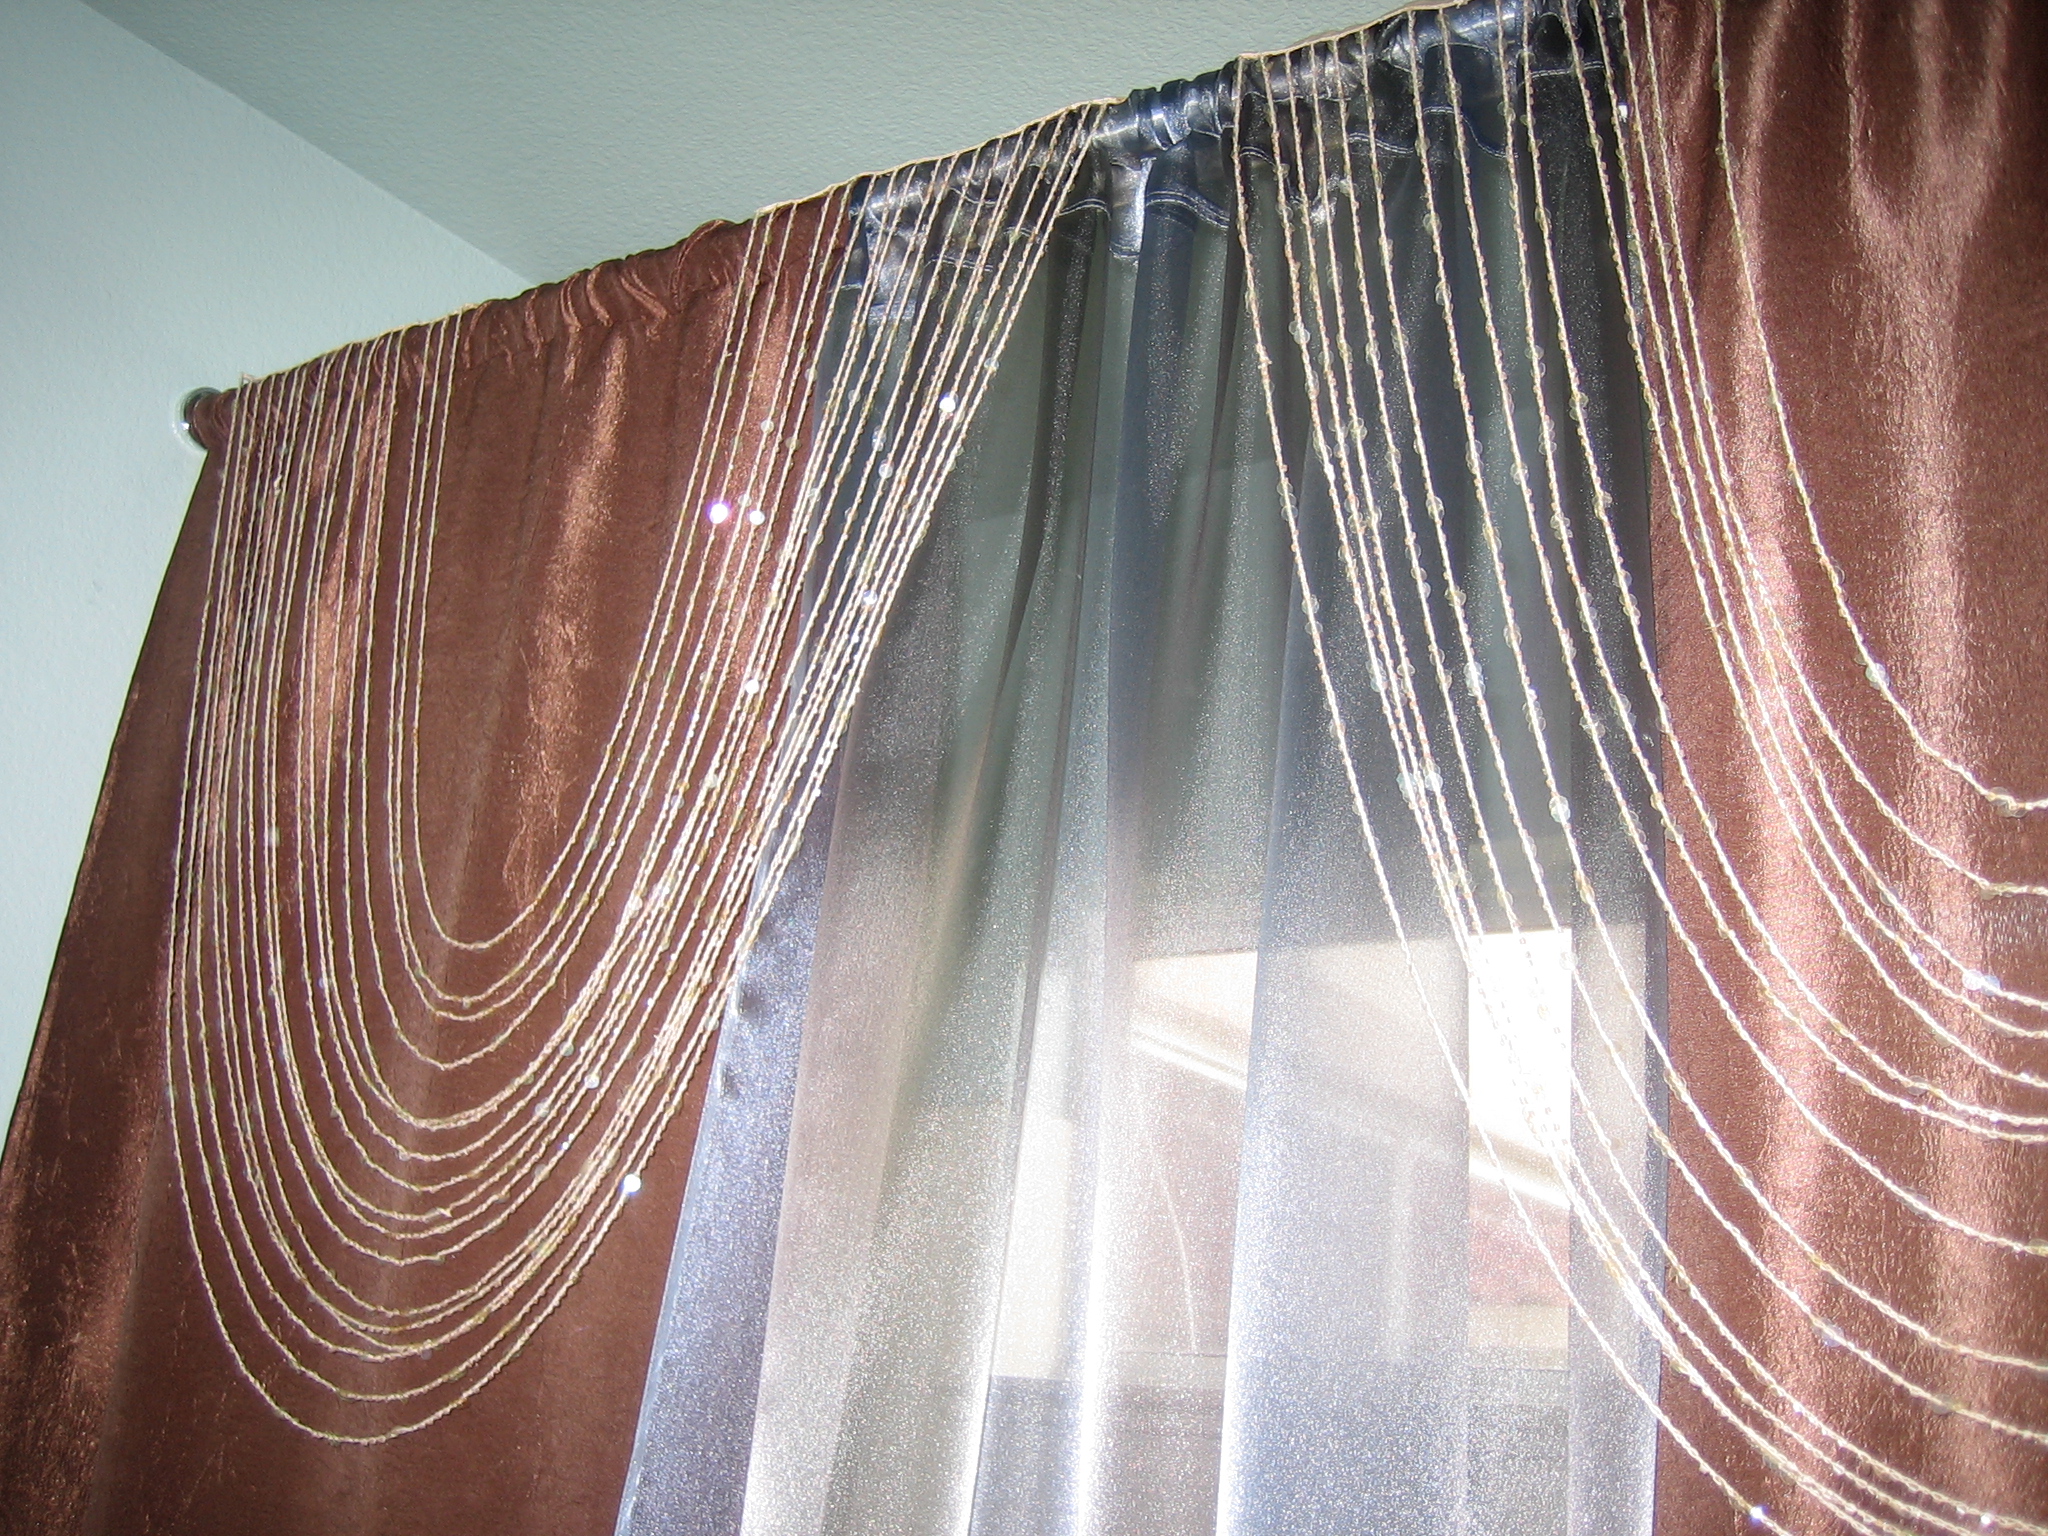
In a bathroom the shower curtain can also be an impactful accent piece since it is large, colorful, and again can do a lot towards conveying the concept and color scheme of the space. The only thing is that shower curtains can also be budget busters. Since I really couldn't find something within my very restricted budget, I figured, if I can't find it, I can make it. But again, I didn't necessarily wanted to go to the fabric store and do the whole thing from scratch. Instead, I sort of improvised and put together a few pieces into a cohesive whole. I knew I wanted to emphasize the color scheme of chocolate brown and aqua blue, so I found not a shower curtain, but a regular fabric curtain panel in the right color. I cut it in half and just had to hem the cut edges (actually used iron-on tape, no sewing necessary). I then found another panel in a shimmery aqua fabric that looked like the pearlescence that is often seen inside a shell, and that became my middle panel. I then got lucky and found the string window valance also with pearlescent sequins, and it just capped off the curtain beautifully. In terms of functionality, I didn't have to worry about this being a shower used often, so I didn't bother with the fabric being water resistant, but if I did I could have put a clear shower liner behind the curtains.
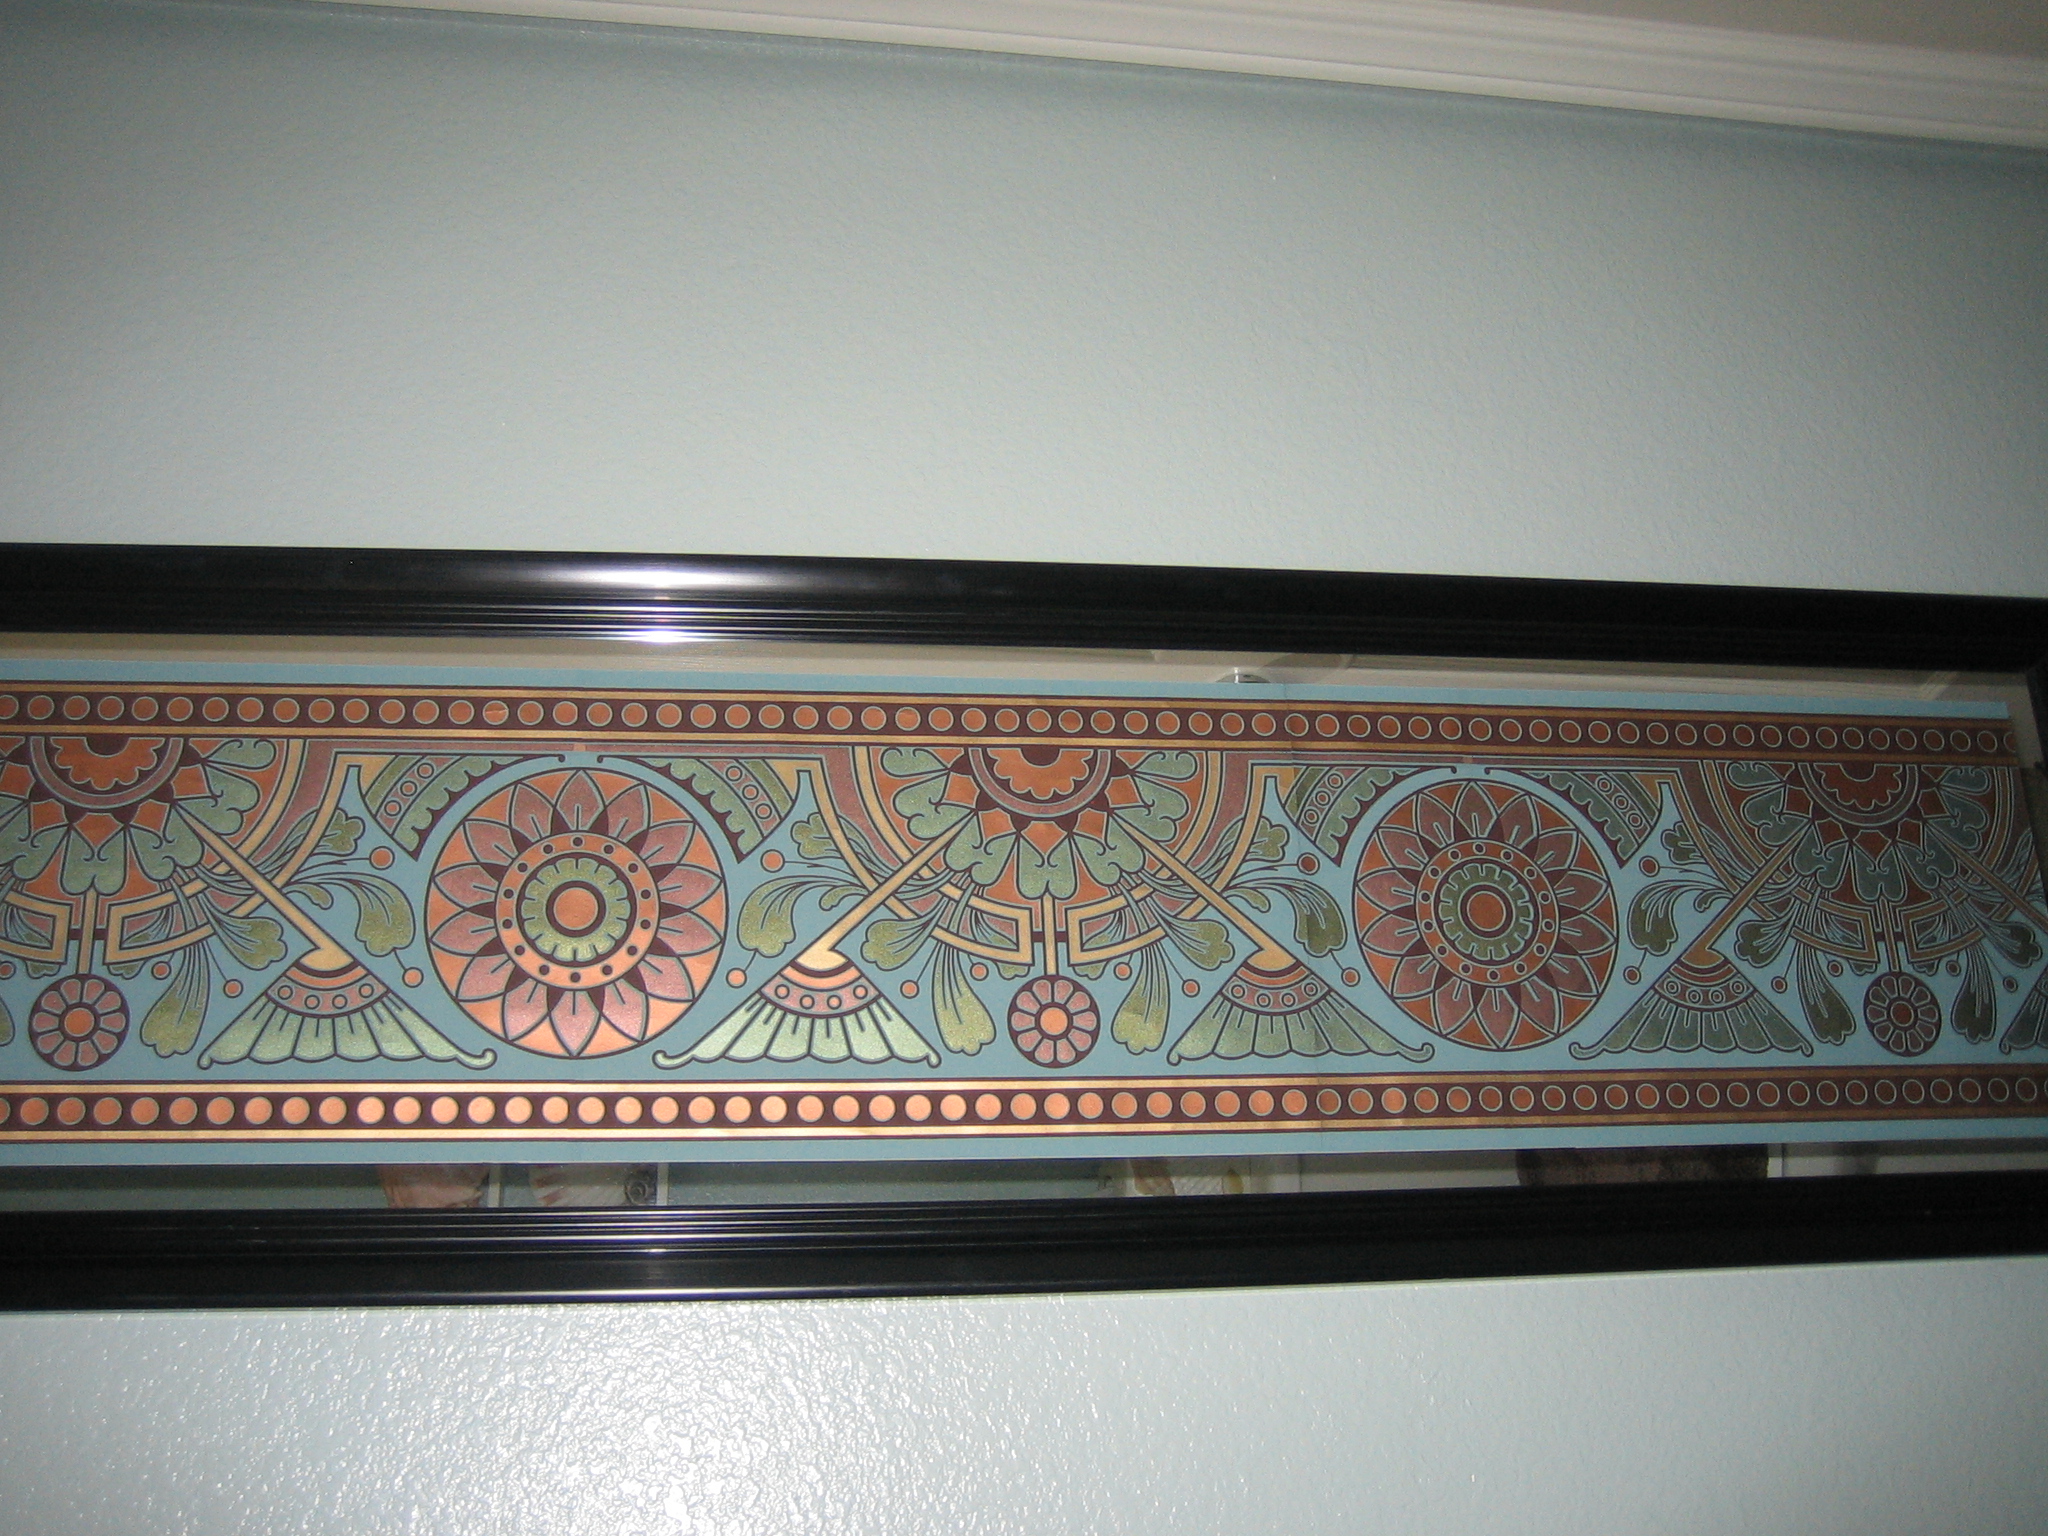
And then came the accessories. Instead of a painting or expensive wall art, this is just a store bought dressing long mirror with a wall paper border affixed to it. It gives the impression that the piece of art has a mirror matting. The wall paper border of course is quite special. I bought just a little piece of it at a historic wallpaper factory (at their once a year sale). Not enough to put around the room, but pretty enough to showcase as a piece of art.

For the other wall, just some shells in some simple boxes on the wall. Very simple, but effective.
And there you have it, a room transformed with very little money, some effort, and a lot of bargain shopping.
We love Jacqui's ideas and can't wait to share more of them here on our blog~ but if you want to see more right now, head over to her blog:
HandArt Design Studios!
No comments:
Post a Comment