Showing posts with label buttons. Show all posts

August 12, 2012

Sustainable Sundays: Back to School


Happy Sunday everyone!  I'm excited to bring you another collection of Back to School items from Team Upcyclers.  Our Etsy shops that are active and participating on the team are available for Sunday selections.

Back to School


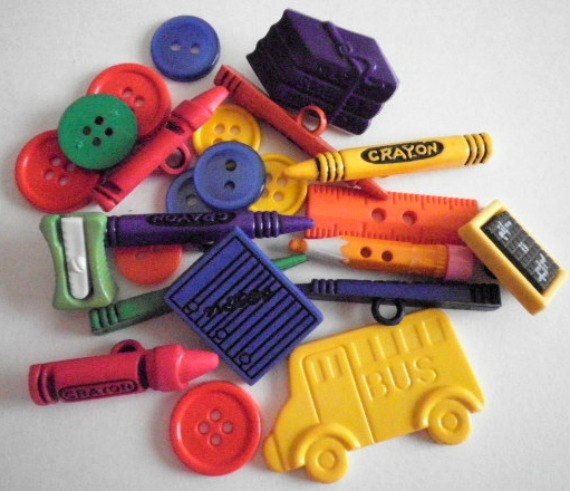
You can add some awesome school buttons to your clothing, lunch boxes or backpacks this school year!


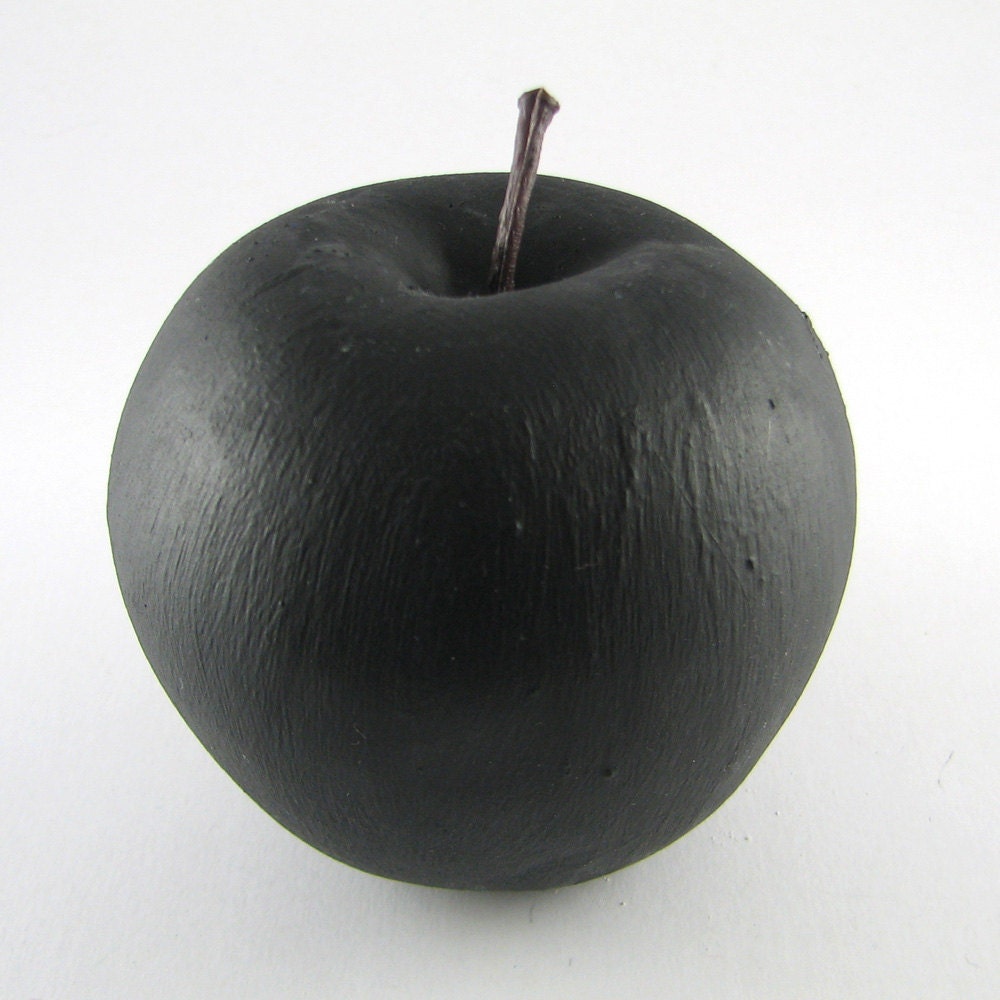
How about a chalkboard apple for your favorite teacher?


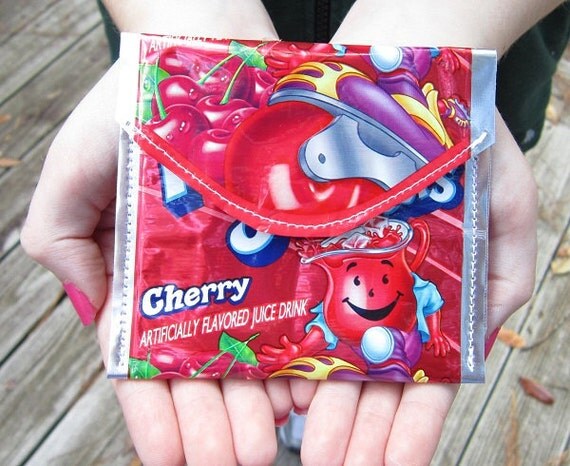
Make sure you have a good (upcycled) placed to keep lunch money!


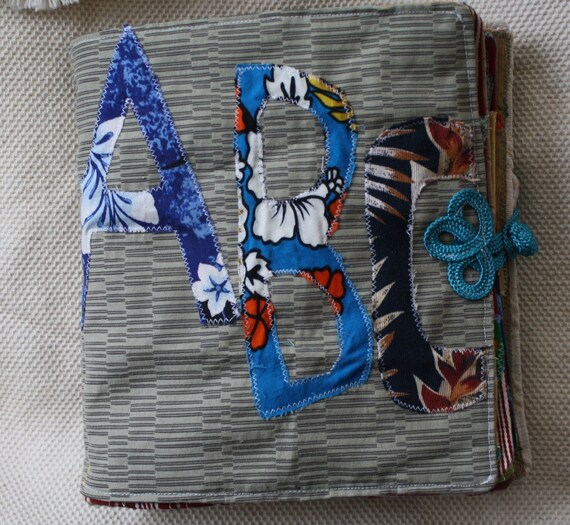
And don't forget the preschoolers! Check out this cool handmade book


The whole purpose of education is to turn mirrors into windows. ~Sydney J. Harris


Have a great Sunday and be sure to make it a sustainable one!
Thanks, Bee


May 13, 2012

Sustainable Sundays: upcycled buttons

Each Sunday we search and highlight upcycled creations made from over 2,000 sustainable shops on our Upcyclers Etsy Team!!! Shops that are actively upcycling and participating in our community are available for selections each week.

This week's theme is old vintage buttons. Check out these four amazing shops that save and upcycle buttons...


Debbie from Australia has a lovely shop on Etsy, and even has an entire jewelry section devoted to upcycling buttons.


How about some buttons on your walls?
This 8x10 wall frame made from upcycled material and buttons, would look great on anyone's wall! Check out more of this shop's awesome button art!


This reversible recycled denim headband has a detachable hair clip!  Since the button flower has both a pin & hair clip you can also wear it on your jacket, sweater, headband, purse or in your hair! We love the functional of this upcycled piece.  Lynn likes to use vintage buttons in most of her creations, check out her shop for more unique accessories.


This adjustable bracelet was made from vintage buttons and a soft vintage zipper.  Cindy from FabTabulous uses an assortment of upcycled buttons in her eco-friendly Etsy shop! 


Enjoy your Sunday (especially if you're a mother this week) and be sure to make it a sustainable Sunday!

Thanks,
Bee
inspired to recycle

May 6, 2011

Love 2 DIY on the Weekend: No More Business Cards!

I am experiencing my first blogger crush! Thanks to Upcyclers and way too many stalker-like tweets on my part, I've gotten to chit chat with Michelle at Aisle 3. I have my first festival/craft show in a couple of weeks and she has been sharing her insight. I fell in love with this idea and thought this was the perfect season to share it with you guys - in case YOU have a reason to be out marketing your shop or blog! Enjoy - and don't forget to become a follower when you link over to her blog! 
~Sammi


Do Shoppers Beg for Your Business Card?


I am loving this I don't know about you, but that's never the case with me.  As a shopper, I rarely pick up a business card.  And if I do, it usually ends up in the bottom of my bag because I either 1) never really know where to put it for a quick future reference, or 2) forget to ever look at it or for it again.

After working my butt off prepping for last week's event, I wanted to do something fun and easy with my left over crafty energy.  I came up with an idea to promote my Etsy shop to the weekend's shoppers without having to rely on them to pick up my business card. 


Find out how Michelle made these HERE!

March 11, 2011

Love 2 DIY on the Weekend: Upcycled Children's Book into Photo Album

I have three kids at home. They are super big and all grown up and don't want any of their baby board books anymore. So when I was surfing the net (as I do on occasion) I found a fun site where the blogger would buy things from the $1 store and make something crafty! One of her projects was to make a photo album/journal from 2 for $1 board books!
Guess what I have 327 of??? BOARD BOOKS! And most of them are so yucky they aren't even donatable! For some reason my children liked to eat their books.

It's difficult to believe, looking at the picture but the one I used for this project is the least yucky of the bunch!

You will find my tutorials are very general. Mostly because this isn't like a cake baking tutorial where you should duplicate my steps exactly! I mean, the likelihood of you having the same size old chewed on board book in your home is probably pretty low.

So use this as a guide; An inspiration if you prefer. Hopefully I can spark those creative juices to make your own wildly creative crafty whats-a-whose-it. But for today - read about ours!

Once again, my 8 year old daughter and I did this project together. (I told you she was all big and grown-up)
We started by cutting the pages out of the book. Our book is relatively small - about 4 1/2 inches tall so we chose to only use 6 of the pages. Meaning we can get 3 photo albums from one book!


Next my very helpful 15 year old son sanded the edges just a tiny bit so the flappy paper edges weren't in our way. He used a little hand held sander but there is no reason you couldn't hand sand them or trim them very closely with an Exacto knife. 


Before we started making the album we discussed a theme. I thought for sure my daughter would choose to make a soccer album. But she surprised me and wanted to do a Rock-n-Roll theme. So we picked out paper from a pile in my craft room and trimmed it up and glued it to the boards.


To spread the glue and help the paper lay flat to the edge, we layed the paper on the board and then pressed with the handle of a butter knife from the center of the paper to the edge all the way around.

Next my handy dandy son drilled 3 holes through the boards. I'm not exactly sure how you could do this step without a power tool? Maybe nail through the boards one at a time? If you don't have a small drill, maybe now is the time to get one.(I know Habitat for Humanity has a small store in my town where they sell supplies and surplus!) Back to the drilling....


The next part was so fun. First we went through all of my scraps and goodies. I get tons of freebies when I order from Etsy. I try to pass them on to my customers but I tend to order a lot more than I sell. So I have lots of leftovers. We tried to find items that looked Rock-n-Roll to us.


Mostly we did not take pictures of the next couple of hours. There was a lot of pasting and cutting. I altered pictures at picnik.com and printed them off. There is a lot of crafting going on at my house. Do you know we didn't turn the TV on once? My kids are 6, 8 and 15 and no one even mentioned it. I know this isn't a post on TV and how it can disconnect families, but I think it's worth mentioning. ;-) 

Here are a few pictures from our Rock-N-Roll photo album:


I must say, I think it turned out super cute! Please let me know if you agree and don't be shy about commenting with suggestions or ideas for future tutorials! I'm all ears! 


Sammi