Showing posts with label gardening. Show all posts

July 27, 2013

Love 2 DIY on the Weekend~ Is For the Birds!

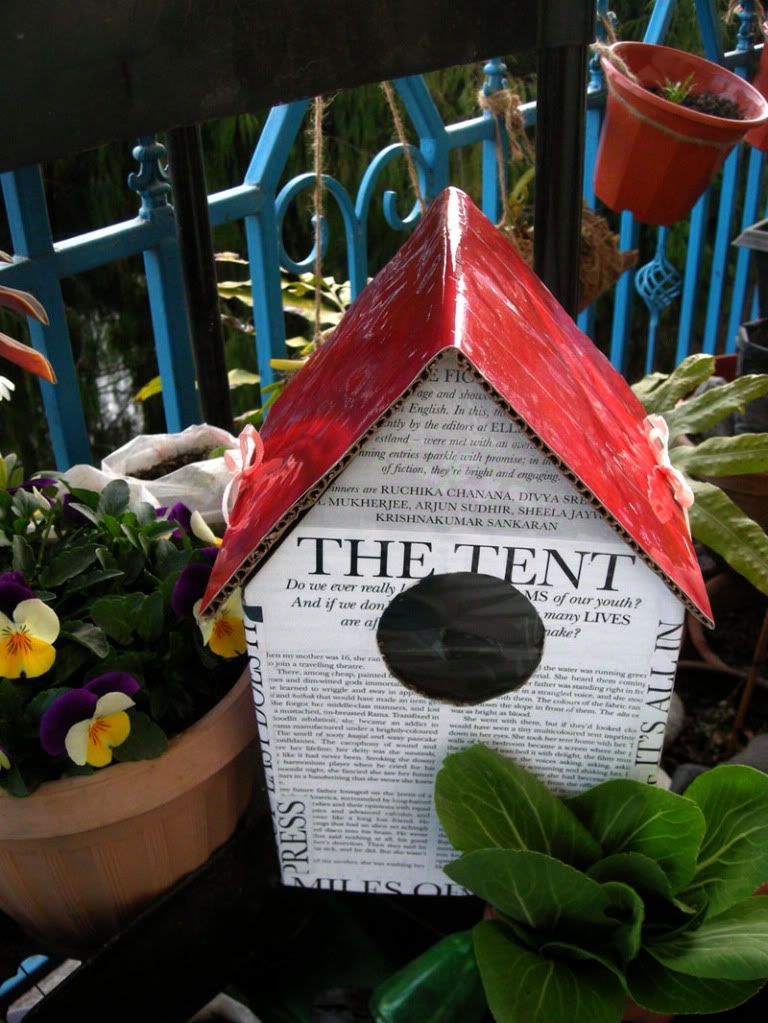
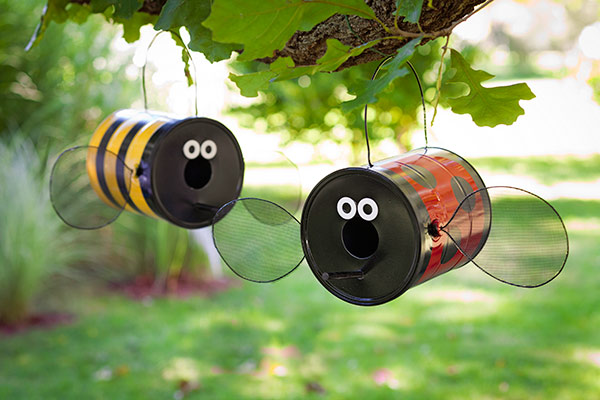
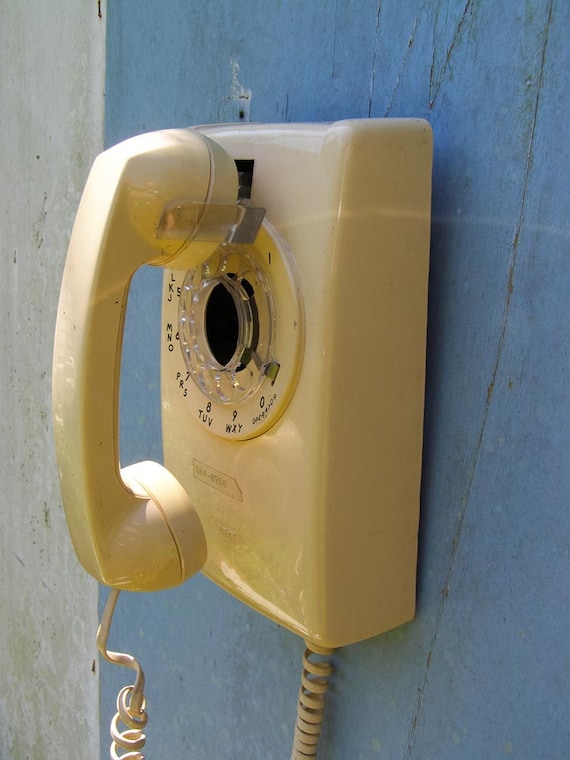
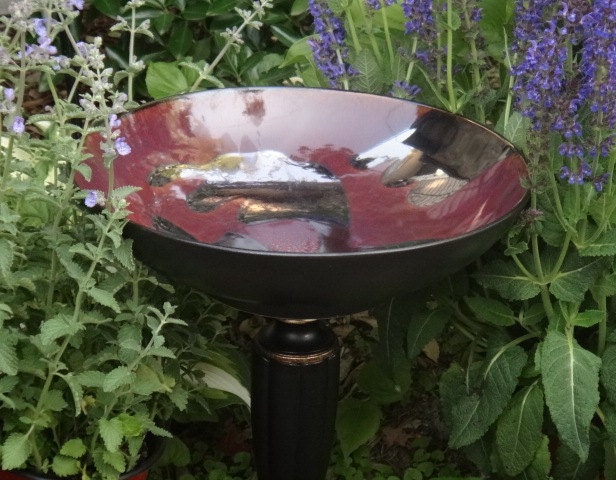
If you love birds in your backyard habitat, we've got some way out and somewhat, wacky upcycled inspiration for some cool habitats for your winged visitors~ If you don't want to DIY, some of these birdhouses are available for sale in the artist's studio or online shop.


Brian Carlisle~ GadgetSponge.com


It's a Crazy Life...what craft is Sam working on now?


The Guilty Crafter~ confessions of a domestic Goddess wannabe


Upcycled Garden Style...a website from Gardens Inspired


April Crafternoon@ fdlpl.org


Tale of Twisted Fibers


Mama's Nook


EcoCycled


So look around your garage, basement or attic and turn an old treasure or tossed away article into an upcycled home for your feathered friends!

Have a fantastic weekend!
;) Cat

July 23, 2012

'Upcycling' Water?

This might sound like a ludicrous notion, but in reality all water is 'upcycled' or recycled. It all goes back to the three part system I learned in grade school. Water is always in one part of the water cycle or the other, it is either part of a body of water on the ground, evaporating/ed and floating above our heads as clouds, or falling to the ground as a type as precipitation.

This is not quite as complicated. Here I am speaking only about reusing rainwater on a small scale. Rainwater can be collected and redistributed to your garden very simply. Instead of letting rainwater run from the gutters into the street and into the city storm water system, it can be gathered in rain barrels and used when most needed. 

Here are some places for learning about how to make your own rain barrels:


As you can see from the plans a spout is attached to the base to attach a hose and make watering easy.

Another fun water use for the garden:


A bird bath!

Happy Gardening!

Nikki

June 28, 2012

Composting: The Ultimate Upcycle

What could be better than using free stuff to get better stuff? Nothing of course. That is what composting is all about. You take the free nitrogen and carbon that grows from the ground or falls from the sky and turn it into a medium that your new plants can use to become stronger, produce more flowers/fruit, and create a great place to relax.


First off a confession: I am a lazy composter. I throw my stuff in my pile and let the magic of nature do it's thing. This means that my compost takes 2-3 times longer than anyone else using a hot composting method. But I will get into more details below and point you in the direction of some great resources as I go along.


The basics:


To start off you will need a place to put a compost pile, materials to construct a composting box, and plant clippings. My compost box is constructed from 4 T-posts, coated garden fencing mesh and zip ties. Other composting boxes can be made from upcycled pallets or other materials, but see paragraph 2, plus I didn't find these plans until just now.


You can also buy compost bins like this one, but beware the plastic bins, they can get so hot your plants will produce a foul smelling plant juice. Unlike wood or wire mesh composters they don't get the needed air circulation.


As for what to add to the compost bin once you build it you need a mix of both green plant clippings (e.g. grass) and brown plant clippings (e.g. fall leaves), adding these will give you the appropriate mix of carbon (brown) and nitrogen (green) that you need to promote growth in your garden. Unfortunately, they tend to be available at different times of the year.


Composting:


There are two types of compost which I am going to touch on here: Hot composting and cold composting. 


Hot composting can only take place if you have the required balance of nitrogen, carbon, water and air. To accomplish this you need to add alternating layers of brown and green plant materials. I would suggest each layer be approximately 4 inches thick. You also need to make sure to water your compost. Don't let it get soggy, but don't let it dry out either. The last is air. About once a week you need to turn your compost pile to add in air. See I am tired just thinking about it, but you get good compost in 2-3 months. FYI, it is normal for this type of compost to steam.


Cold composting on the other hand is much simpler. Build compost box, add plant clippings, wait 6-9 months. 


For more information, I recommend checking out Composting 101.


Good stuff to add:


Green:
Grass clippings, food waste (vegetables), coffee grounds, garden waste.


Brown:
Fall leaves, hair or pet fur, fruit, shredded newspaper or cardboard, peanut shells.


Stuff to watch out for: 


If you decide to add fruit or vegetables to your compost make sure to bury them at least 6 inches from any side of your bin to deter rodents.


Don't add meat, pet droppings, or anything with oil in it. It will sour the batch.


Don't put diseased plants or weeds in your bin, it probably won't be hot enough to kill either of them.


But wait you say, when and how can I use my compost?

This is a great question. Once you have created a pile, you need to let it 'cook' for awhile, either actively or passively managing it. Once you have determined there must be compost in the pile, I recommend sifting it through a 1/4 inch mesh screen to remove any large pieces of vegetation (to go back into the compost pile). Then place around plants or till into your garden plot.


Pretty upcycled stuff to decorate your garden with while you are waiting for the compost:


As always hoping your garden is a little greener,


Nikki
This 'n That Creations

May 16, 2012

Wasteless Wednesday: Water-Wise Gardening


Last week I attended a water wise gardening fair with my family in New Smyrna Bach, FL. We had a great time. The kids enjoyed coloring a rain barrel and making flower garden boxes.
We went home with a ton of water saving information, all printed on chlorine free recycled paper with vegetable oil based ink! I wanted to share of few things I learned and a few thoughts on water wise living this week.

During the morning event, we discussed Florida's aquifers, sustainable gardening, and ways to efficiently use water in our homes. Most of the water used in our home (30-70% depending on climate) is used for landscaping, so it is important to evaluate your outdoor water consumption.  We all need to reduce water usage in this area!  Some experts estimate than more than half of landscape water is wasted due to evaporation, wind, and over watering.
 

Tips on Saving Water Outdoors


Plant native, climate appropriate plants

Use more mulch and practice Grasscycling

Don't over fertilize. You will increase the lawns need for water.

Let your grass grow long.  Raising your lawn mower blade to at least 3 inches will promote deeper roots and hold soil moisture better than a closely cut lawn. Guess I won't fuss at my husband for mowing the grass as much now. ;)

How often do you check your sprinkler system? Do you change the settings with the seasons? EPA Water Sense says we should make a monthly date to regularly inspect our systems. Check for leaks, broken or clogged heads, and other possible problems. It is important to make sure your sprinkler heads aren't watering the payment, right?!
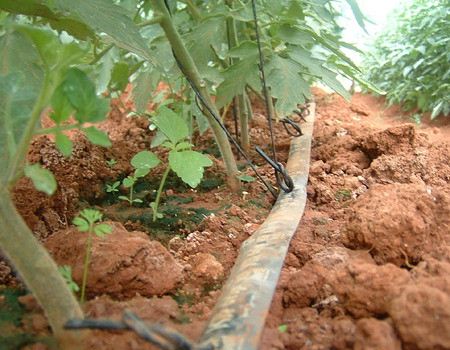

York Restoration Corporation Building Restoration Drip Irrigation

One of things I liked was they discussed micro-irrigation at the fair. Installing low-volume micro irrigation will do wonders for you water consumption. It's exactly what it sounds like, micro-sprinklers that include drip, trickle, and bubbler irrigation to slowly water and minimize evaporation, runoff, and over spray.

However you choose to water your garden and lawn, PLEASE water during the cool morning hours (or after 4pm if you can't), to reduce evaporation. It drives me crazy when I drive by a home watering their yard at noon. Is not even good for the plants. Notice afternoon thunderstorms come in the afternoon? Nature knows when to water, and so should we.
Upcycled Mushroom Bird Bath by Upcycled Stuff on Etsy
And finally, I think water wise gardening should involve water for wildlife! Remember to provide birdbaths, or build small ponds in your landscape to provide drinking water for birds, butterflies, bees and other creatures that are vital to our ecosystem.


Bee
Backyard FL Gardening
growing vegetables & kids

June 11, 2011

Love 2 DIY on the Weekend: Summer Projects!

Is your backyard ready for summer? Long sunny days that lead into cool moonlit evenings require a place to enjoy them and with the price of gas, it might be best to do that at home. Create your own little paradise with a few DIY upcycling projects that just might inspire you to come up with some of your own!

Erik Anderson's Wine Bottle Tiki Torch Tutorial provides quick and easy steps to lighting up your patio, island style!


Or if you love the look of a string of lights, try this idea from Instructables.com to make Egg Carton Flower Lights...


Celebrating Flag Day? Having a Fourth of July Picnic? Here's an idea from Daily Danny to display your red, white and blue~ green style!


Love to birdwatch? Bring them to you by building eco-friendly birdhouses from upcycled materials~ scrap wood, large plastic bottles or birdbaths from old terra cotta pots and saucers you might have on hand. Wenona Napolitano offers her own ideas and links to others on Crafting a Green World.


How about a potting bench made from an old fireplace mantle and a table? The Upcycler created one for his backyard that has a charming rustic look with lots of character...


Celebrate the best part of summer by nurturing your home and your spirit~ Being able to say 'I made it myself' and then sit back and enjoy what you created, is food for the soul!