July 10, 2011

Understanding Green Branding

I recently wrote to you about my continued quest to become an ethical consumer, by discussing ways to Greener Your Shopping List. It was also important to understand green brands & their marketing verbiage while on this sustainable shopping mission.

"Green brands are those brands that consumers associate with environmental conservation and sustainable business practices." http://en.wikipedia.org/wiki/Green brands

We all know what a recycle symbol looks like & what the three R’s mean. I understood what organic & natural meant, or did I? When I started looking closer at the green items I was purchasing the labels started to get a little confusing. This one said all natural but not organic, that one was organic but made with only 70% organic ingredients. I could buy eggs that are organic but not cage free, but could I buy eggs that are cage free & not organic? To clear things up, it was important to stop & understand the verbiage of the green branding universe.

Here are some basics terms needed for understanding green product claims. You may already know them, but do you know what they mean on the products you buy?


Natural: is very broad term when it comes to food products available in our grocery stores. In fact, the FDA has not even established a formal definition of the word natural. It is used on packaging to attract health conscious consumers but doesn’t mean all the products ingredients will be natural. Best thing to do, read the ingredients list on the label. Vague terms like natural are not allowed on the ingredients list, with the exception natural flavorings.
 
Certified Organic: It is important to know that each country regulates their food certifications differently. In the US & Canada, they have passed organic legislation making it so the term “organic” may be only used by certified producers. Anyone involved in the food production process can be certified organic. That’s everyone from seed suppliers and farmers to retailers and restaurants.


In the US, the federal legislation defines three levels of organic. A company can use “100% organic” on their product label if the product is entirely made with organic ingredients & methods. Products with at least 95% organic ingredients can use the word “organic.” Both these levels may also display the same USDA organic seal. The third level is for products who ingredient lists contains at least 70% organic ingredients and they may use “made with organic ingredients” on their packaging.


Fair Trade: Consumer product packaging from other countries can be labeled with this eco term. Fair Trade Certification is an organized movement aimed at helping developing countries improve their trading conditions & promote sustainability. The Fairtrade Certification system covers a growing range of products, including bananas, honey, coffee, oranges, cocoa, cotton, dried and fresh fruits and vegetables, juices, and even wine. Fairtrade International (FLO), along with many others, helps to head up this international certification & reports in 2008 that an estimated 7.5 million producers and their families were benefiting from fair trade funded infrastructure, assistance and community development projects.


This movement has its critics & many see this label as a marketing ploy that does not challenge the world’s trading system. The best thing to do is research the specific products & companies you are buying from. There are a number of fair trade labels that can appear on packaging.

Besides understanding consumer products & their environmental impacts, knowledge of green branding gives us a way we can vote with our dollars for sustainable changes in our communities & world!

July 9, 2011

Love 2 DIY on the Weekend: DIY Dress Form from Upcycled Design Lab

DIY Dress Form (Do It Yourself Duct tape double) for under $35.00

The Story of how I came to make a Dress Form from scratch on a shoestring budget:
Like millions of other Americans my family decided to spend less money on Christmas presents this year.  Not surprisingly; our younger family members had trouble embracing this idea.   To aid in the shopping process we all made lists for one another.  One of the items requested by my teenage niece was a dress form.  I suspected that this item didn't fit into our predefined budget but but I am not one to turn down a gift challenge (at least not one from my nieces or nephew.) And so, I set out in search of a dress form.  I thought I might find a used one at a bargain price on EBay or Craigslist.  My search, however, was fruitless.  The cheapest dress forms were around $130.00.  Imagine my surprise when I stumbled on to a website that sold instructions for making your own dress form; from duct tape no less!!  This was even better as homemade items for Christmas are my specialty.  I couldn't resist.  The instructions cost $15.00 from Duct Tape Double .  There are some links for free instructions at the bottom of this post but the $15.00 was well spent in my mind.
Here is my finished dress form after following the directions from the Duct Tape Double.

Duct Tape Dress Form Front
Never one to completely follow the instructions I made a few modification.   I followed the instruction for the most part but remember I was on a strict budget.  The instructions called for a lot of stuffing.  To purchase all the filling new was not in my budget so I improvised.  I used an old towel and I wrapped it around the cardboard fabric roll securing it with what else but duct tape.  Then I used some old plastic grocery bags (the kind everyone has way to many of) to stuff an inside layer.  Finally I purchased some second hand pillows and recycled their insides for the outside layer of stuffing.


My total cost so far was $27. 59.  That included the $15.00 for the instructions, $6.50 for 2 rolls of Duct Tape and $6.09 for 4 pre-owned pillows.  All the other supplies I had on hand or got for free from the fabric store.
I must say I was pretty pleased with the result but there was one problem....The Duct Tape.  First of all it looked a little too, well... a little too much like duct tape.  The second problem was that once you put a hole on the duct tape it is there forever.  I wanted this dress form to withstand lots of pinning and not look like an overused voodoo doll so I decided to make a cover for it.  I bought a second hand large mens shirt (note: it needs to be long enough to cover the full length of the dress form and long sleeves are best as you have a little extra fabric to work with.)  The shirt cost $2.75 bringing my total to $30.34.

Dress Form Cover To make the cover I cut off the collar and part of the sleeves leaving the length about 6 to 7 inches.  Then I cut open the side seams and draped the shirt over the dress form wrong side out.
I pinned  the front together as if the shirt were buttoned.  Then I pinned  the side seams and darts.  Most of the fabric comes out of the side seams but front and back darts also need to be pinned and front bust darts as well.  Dress Form cover detailIt is important to keep opposite seams and darts somewhat even with each other.  Once all the pinning is complete the front is unpinned and the cover removed from the form. All the pinned seams and darts need to be stitched on a sewing machine.  Trim off the excess seam allowance on the side seams.  At this point turn the shirt right-side out and redress the dress form.  You should be able to button it up the front and have it fit fairly well.  You will probably need to make a few minor adjustments to the darts and side-seams at this point to make the cover fit as snuggly as it should.  I originally planned to sew the front together but I had a shirt with a nice front placket that covered the buttons.  I decided that not only did I like the way it looked but it might be a good idea to have the cover be removable. I figured there might be spots on the form that required patching after repeated pinning.  What else but a piece of duct tape would make the perfect patch!

Dress Form Cover Armhole


To finish the armholes I folded pinned and tucked in the raw edges of the sleeve following the armhole seams and making it as smooth as possible.  Then I hand sewed the folds and tucks.
For the neck I sewed one of the extra pieces of sleeve into the neck opening.  I was planning to finish the top of the neck as I did the armholes.  While working on the cover I tied the sleeve in a knot just to get the floppy piece of fabric out of my way.  I discovered that I liked the way it looked with the knot and the cuff at the neckline and decided to leave the knot.
Once all the hand sewing was complete and the cover fit snuggly on the form I went back to the duct tape.  Tape the bottom of the shirt to the bottom of the dress form pulling slightly for a good tight fit.


Here is my finished Dress form with the cover:

Completed DIY Dress Form closeupIf you look closely you can see a heart shape on the chest.  I accidentally cut a hole in that spot and was happy to have some extra fabric to patch with.
I confess that I enlisted my fathers help to make the wooden stand.  It consists of a rectangular piece of plywood and three pieces of 2 x 6 glued together and drilled with a hole the size of the card board fabric tube.


 DIY Dress Form


Here are some addition links you might find helpful if you are interested in making your own dress form.
Duct Tape Dress Form 1
Duct Tape Dress Form 2
Molded papier-machce Dress Form
Paper-tape Dress Form


This is a repost from an original post by Upcycled Design Lab!

Upcycled Design Lab also has a shop on Etsy~

July 8, 2011

Congrats to Our Handmade Top Ten Finalists!

Our team rocked the Handmadeology contest this past two weeks with over 90,000 votes for our Handmade Top 10 List! And even though we didn't win the contest, we still feel like winners! We had 138 submissions to the list from Upcyclers' members and we thank each and every one of you that supported our team by submitting and by voting! It's a great achievement for our ever-growing team of 1045 members (and probably more, by the time the day is through!). We hope you will continue to support the upcycling movement by either shopping for upcycled alternatives for your buying needs or by trying your hand at creating your own!

Congratulations again to our amazingly talented team and the Top 10 Finalists! If you'd like to see more of what our Top 10 have to offer, just click on their entry or their name on the list!

1.  MollCutpurse
2.  TearfulTouch
3.  GlassGaloreGal
4.  PendropsCouture
5.  FabTabulous
6.  NorthCoastBeachGlass
7.  Bibliobags
8.  GardenWhimsiesbyMary
9.  MattJohnsonDesigns
10.ReMaineWicked


July 7, 2011

Weekly Giveaway: Our Children's Earth!

Green Illuminations should be proud~ we had 84 entries in our Weekly Giveaway!! And the lucky winner was Gianna!
Congrats, Gianna! You were the 78th entry, which was Random.org's generated drawing! Thanks to all that entered and to Green Illuminations for sponsoring Upcyclers' giveaway last week!

And a big thanks now to Our Children's Earth for generously offering one of their submissions to our Handmade Top 10 List for the recent contest from Handmadeology! Whimsically named: Pink Fuzzy Peace Baby~ this eco-friendly case is perfect for a Nook, Kindle, journal or anything else you fancy will fit! Upcycled from a wool blend sweater and double stitched with a velcro closure, you'll love keeping your device or belongings safe and cozy in this handy case. It even has a little pocket with a very cool wooden peace sign button!


Stephanie and her family have always had a passion for creating things and working for a good cause. Their company is the combination of those ideas. They strongly believe that what they do today  affects our Children and the Earth of tomorrow. So Our Children's Earth was born.

That is why they say they love to create items and figure out new ways to use things that they find. Their products reflect their philosophy of reusing the leftovers or salvaged finds from their daily lives. Our Children's Earth loves to repurpose, reuse, recycle, Upcycle!

From Eco-friendly childrens playthings~


Practical goods for the home, like this Reusable Sandwich Bag that combos as a Placemat!


To creating fashion jewelry that makes a statement~ Literally!


So if your loving their eco cause... and their 'eco case' and would love a chance to win it, show some love to Our Children's Earth and enter our Weekly Giveaway!

Just browse, follow, tweet and share~ Here are the details:

First you must be a follower of Love 2 Upcycle to enter~ not a follower? Just look to the right and click on the 'Follow' button!

Then you can submit up to 4 entries, each must be entered HERE in a separate comment.

1. Browse Our Children's Earth, and tell us here which item was your favorite.

2. 'Favorite' and 'Like' their shop, Our Children's Earth on Etsy.

3.  Leave a comment on one of their blog posts on their website~ OurChildrensEarth.org
Then tell us you did in a comment here.

4. 'Tweet' or 'Like' this Giveaway using our Like or Tweet button or Share a link to our Giveaway on your Facebook fan page.


Deadline to enter is Wednesday, July 13th at midnight.
The WINNER will be randomly drawn and announced with our next giveaway~ Thursday, July 14th.

Good Luck!
Would you like to Sponsor a Giveaway on Love 2 Upcycle? You don't have to be a member of Upcyclers to be a sponsor, all Etsy sellers of upcycled or eco-friendly products are welcome! But of course, we'd love for you to join the team!

July 6, 2011

Meet & Greet: LeanDogPottery

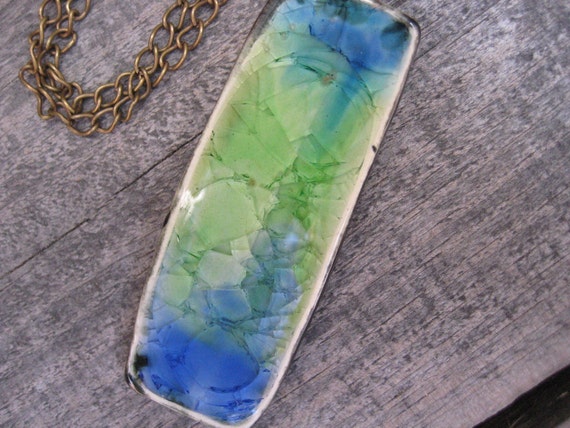
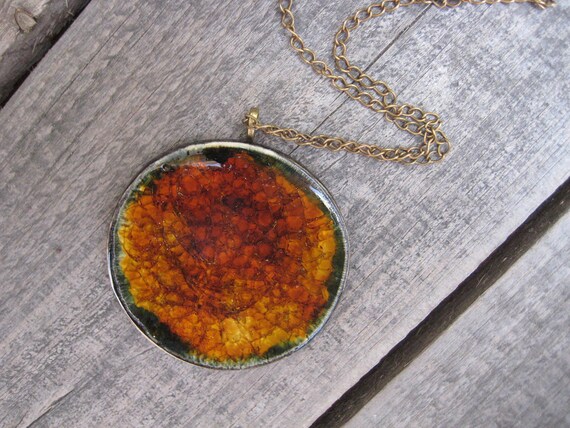
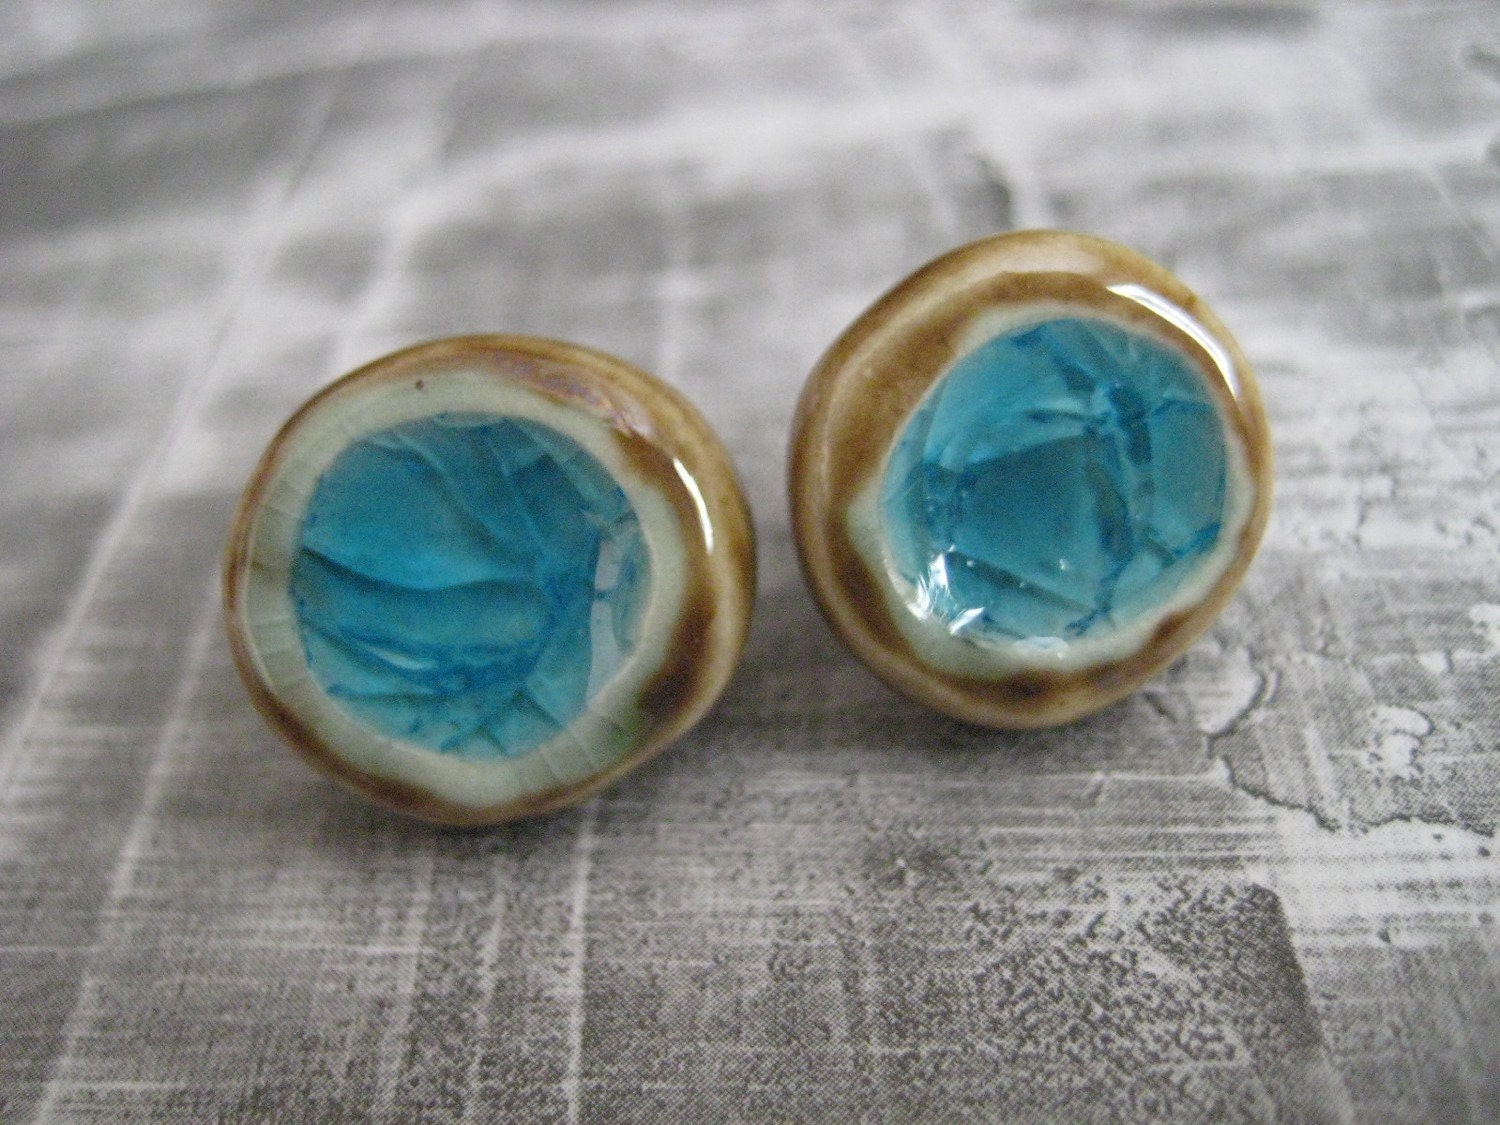
Kelly is a self proclaimed tree hugger who is big on recycling and helping out mother earth.  She is a potter who decided to experiment with jewelry making. Now, jewelry is her main focus, and she is in love with the fusion of glass onto the clay.

Green and Cobalt Tower Pendant
I asked Kelly a few questions about herself and her business, here is what she had to say:

Tell us a little about yourself and what you sell.
My name is Kelly. I live in San Luis Obispo, CA with my husband and 2 kitties - Leroy-Gray and Chester-Woo. Currently I am into cooking, being in nature, riding my bike, going on hikes, sitting in the sunshine in my backyard with my kitties and hubby and of course creating. I sell colorful and unique jewelry made with clay and glass (fused together). I also create functional pottery pieces for your home.

Chocolate Brown Beauty pendant

What is your favorite thing about creating?
My favorite thing about creating is the freedom I have to make whatever comes to my mind and having a great time doing it.

Aqua Brown Stud Earrings ceramic and glass
Why did you decide to work with upcycled/recycled/repurposed/vintage materials?
I am big on recycling.....OK, maybe I am a nut! But, it makes me feel good to recycle. It feels wasteful to just throw something away when you know that there could definitely be another use for it. I reuse glass from many different bottles in my jewelry - this is turning trash into something beautiful and that's rewarding.

Love Me Ring Grass and Lilacs
What is your favorite thing about running your etsy shop?
My favorite thing about running my Etsy shop is all the wonderful people I have met and consider my friends now (at least virtually!). There is so much support and a wonderful community out there in Etsy land - its amazing.

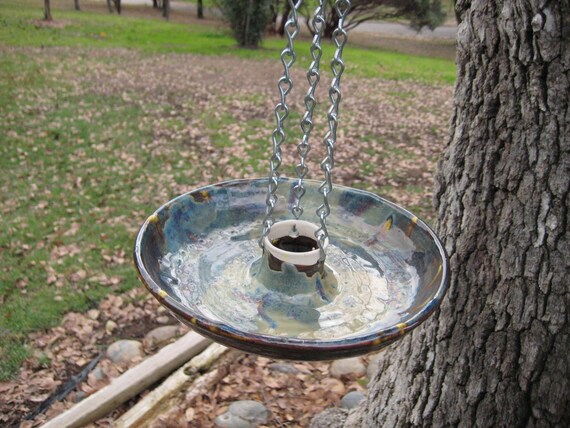
Bird Feeder donut shaped rainbow
What inspires you to create/sell what you do?
My inspiration in my designs come from different shapes and all colors. My inspiration for creating with upcycled/recycled materials comes from my love of the earth and deep rooted compassion.

My Etsy Shop: leandogpottery.etsy.com
Find me on Facebook: facebook.com/leandogpottery
Follow me on Twitter: twitter.com/leandogpottery
My (slightly neglected) blog: leandogpottery.blogspot.com

Thanks Kelly for sharing with us today!

See you next week,
Valerie
Everyday Inspired